
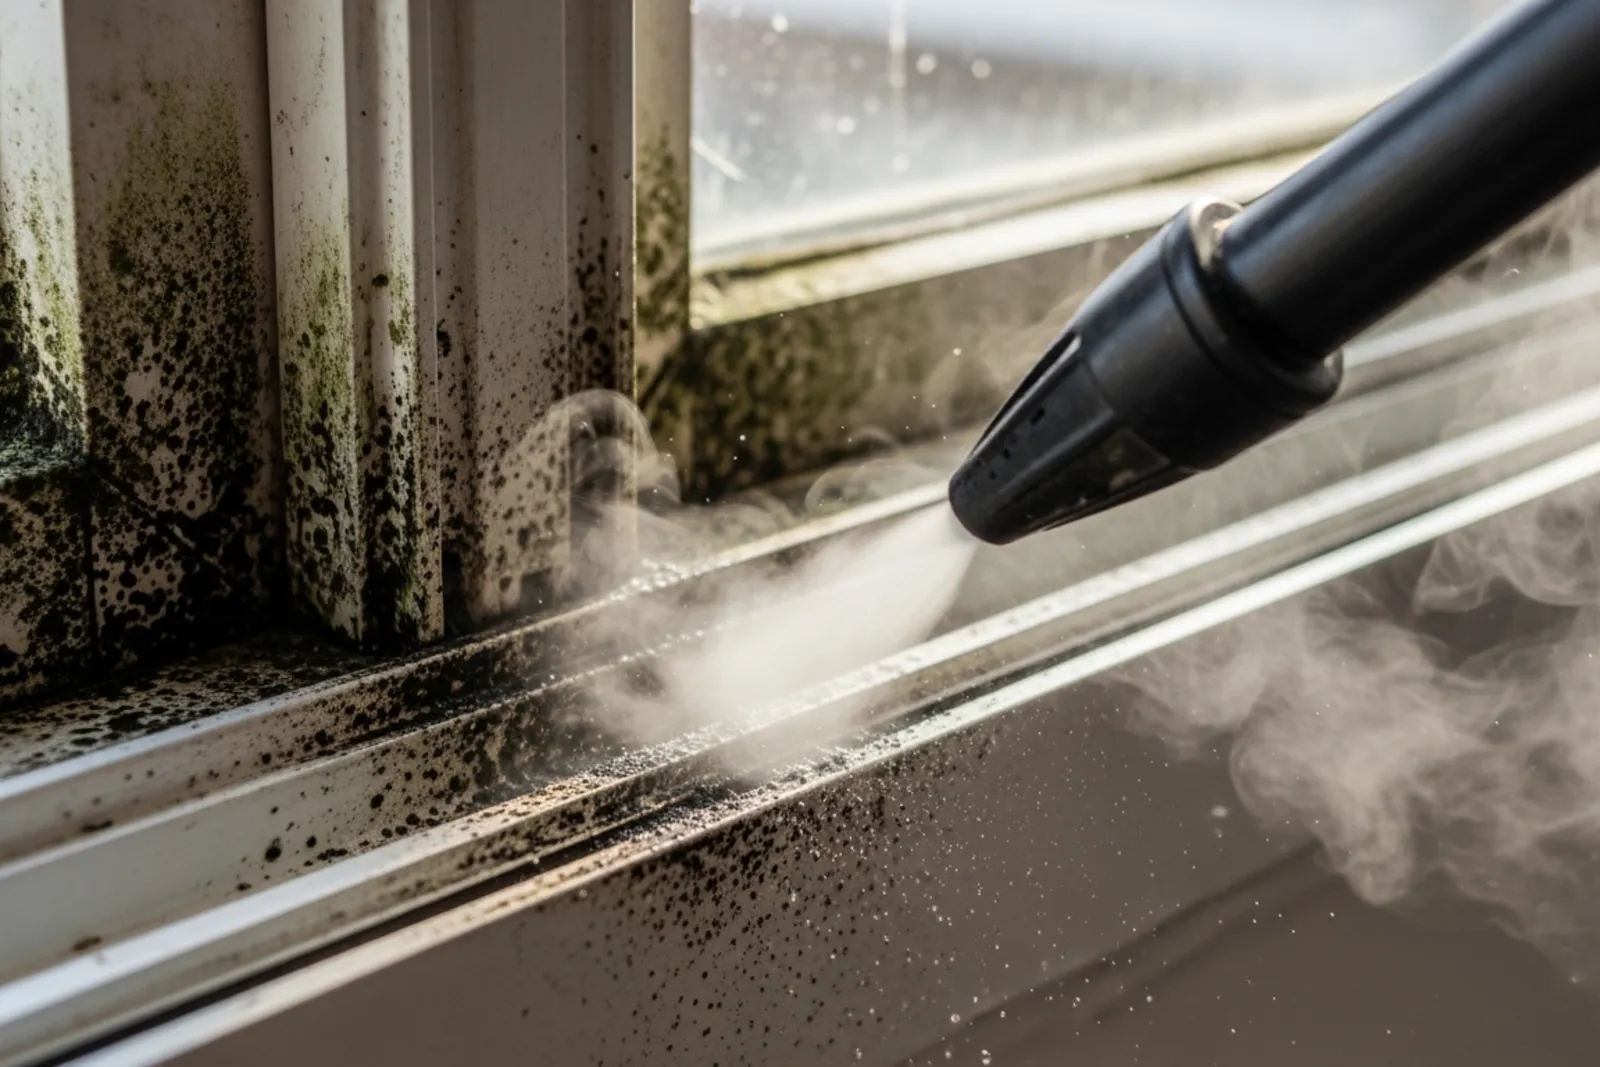
How to Clean Mold From Windows With a Steamer, the Easy Way
Learn how to clean mold from windows with a steamer the easy way. Remove buildup safely and stop mold from coming back with simple tips.
July 25, 2026
Mold around windows is one of those problems that sneaks up on people. You pull back the blind, notice a line of black specks in the track or on the sill, and suddenly you're wondering how long it has been there.
The good news is that a steam cleaner can make this job easier. It loosens grime, helps sanitize non-porous surfaces, and gets into the awkward corners that a cloth usually misses. The not-so-fun news is that steam is not magic. It works well in some spots and badly in others, especially if mold has spread into wood, drywall, or old caulk.
If you want a straightforward approach, this is it: use the steamer on the right surfaces, keep moisture under control, and deal with the reason the mold showed up in the first place. Otherwise, you'll clean it today and see it again next month.
Why mold shows up around windows
Most window mold starts with condensation. Warm indoor air hits a cold window surface, water forms, and that dampness sits in the track, along the seal, or on the sill. Add a little dust, and mold has what it needs.
This gets worse when:
blinds or heavy curtains trap moisture against the glass
bathroom or kitchen windows get frequent steam and poor airflow
window tracks stay dirty
seals fail and let in extra moisture
the room has high humidity for long stretches
If you've lived through a cold winter, you've probably seen this. The glass fogs up in the morning, maybe even freezes at the edge, then melts later. That repeated wet-dry cycle is perfect for mold growth.
The important thing here is simple: mold is usually a moisture problem first and a cleaning problem second.
When a steamer is a good choice
A handheld steamer or steam mop with a detail attachment works best on hard, non-porous parts of the window, such as:
glass
vinyl frames
aluminum frames
window tracks
some tile or metal near the window
Steam is useful because heat can loosen stuck-on dirt and help lift mold residue from crevices. It also reduces the need for heavy chemical sprays, which some people prefer, especially in homes with kids, pets, or anyone sensitive to strong smells.
That said, I wouldn't treat steam as the answer for every moldy window.
When a steamer is the wrong tool
Be careful, or skip steam entirely, if the mold is on:
unfinished wood
damaged painted sills
drywall around the frame
fabric shades or curtains
cracked caulk
old seals that are already pulling away
Porous materials can absorb moisture and heat. That can push the problem deeper or damage the surface. On wood, steam may raise the grain, soften the finish, or leave water where you don't want it. On drywall, it can turn a small issue into a repair job.
Also, if the mold covers a large area, keeps returning fast, or smells musty even after cleaning, the real issue may be hidden moisture inside the wall or window assembly. At that point, surface cleaning is only part of the story.
Before you start: a little caution matters
Mold cleaning sounds simple, but it helps to slow down for five minutes before diving in.
First, avoid dry scrubbing. That can send spores into the air. Steam helps because it keeps the area damp while you work, but you still want to wipe carefully rather than attack it with a stiff brush right away.
Second, protect yourself. For a small window job, this usually means gloves, eye protection, and a well-fitted mask. Open the window if the weather allows, or at least get some air moving in the room.
Third, test the steamer on a small hidden area if the frame is painted, older, or made from a material you're unsure about. Some finishes do not love heat.
What you'll need
You do not need a whole arsenal for this job. A basic setup is enough:
a handheld steam cleaner with a small detail nozzle or brush attachment
several clean microfiber cloths
gloves
a mask
an old toothbrush or small detailing brush
cotton swabs for corners
a small bowl of warm water with a little dish soap, if needed
paper towels or a dry cloth for final drying
If your steamer manual recommends distilled water, use it. It cuts down on mineral buildup in the machine.
Step-by-step: cleaning window mold with a steamer
Here is the easiest method for most glass, vinyl, and aluminum windows.
1. Prep the area
Remove curtains, lift blinds out of the way, and take anything off the sill. If there is loose dust, wipe it gently with a damp cloth. Don't sweep at it dry.
If the mold is in the track, open the window enough to expose the grooves and corners.
2. Start with a short burst of steam
Hold the nozzle a short distance from the moldy area, usually a couple of inches. Use brief bursts instead of one long blast. You want to loosen the buildup, not soak the frame.
Work in small sections. Steam a patch, then wipe it right away with a microfiber cloth. This is the part people skip, and it matters. Steam loosens the mess, but the cloth actually removes it.
3. Wipe as you go
Fold the cloth so you always have a clean side available. Once one side gets dirty, switch to another section of the cloth. If you keep wiping with the same dirty patch, you just smear residue around.
For glass, wipe in broad strokes. For tracks and corners, wrap the cloth around a finger or use a cotton swab after steaming.
4. Use the brush attachment carefully on stubborn spots
If the mold has mixed with grime and feels stuck, a small brush attachment can help. Use a gentle touch. Let the steam do most of the work.
This is especially useful in sliding window tracks, drainage channels, and tiny frame seams where dirt likes to pack in.
5. Dry the surface well
Once the visible mold is gone, dry everything thoroughly. This part is not glamorous, but it may be the most important step in the whole process.
Use a dry microfiber cloth or paper towel to remove leftover moisture from:
the lower track
corners
under the seal edge
the sill
the frame joint where water likes to sit
If possible, leave the window open for a bit or run a fan nearby.
6. Check the caulk and seals
After cleaning, look closely at the edges. If the caulk is cracked, stained deep, or peeling, the mold may be inside it rather than on it. Steam can clean the surface, but it won't restore failed caulk.
The same goes for weatherstripping and rubber seals. If they stay dark after cleaning or feel brittle, they may need replacement.
The best technique for different window materials
Not every window should be treated the same way. This is where a little restraint saves trouble.
Glass
Glass is the easy part. Steam works very well here. Use short passes, then wipe dry for a streak-free finish.
Vinyl frames
Vinyl usually handles steam well, as long as you don't hold the nozzle in one place too long. Keep the tool moving and wipe right after.
Aluminum frames
Also a good candidate for steam. Aluminum tracks, especially older ones, tend to collect the worst dirt. Steam helps lift it out of the grooves.
Painted wood
This is where I get cautious. If the paint is solid and intact, a quick light pass may be okay, followed by immediate drying. If the paint is peeling, skip the steam. You're likely to make it worse.
Bare or stained wood
I would avoid steam here. Use a safer wood-appropriate cleaning method and deal with any moisture problem quickly. Mold on bare wood often means the issue goes deeper than surface dirt.
Caulk and rubber seals
Steam lightly, if at all. Too much heat can weaken already aging material.
What if the mold keeps coming back?
This is the real frustration. You clean the window, it looks fine, and then the spotting returns. Usually that means one of two things: the area is staying damp, or the mold is inside material you didn't remove.
A few prevention habits make a bigger difference than people expect.
Lower the indoor humidity
If your windows collect condensation every morning, try reducing moisture in the room. Use bathroom fans, run the kitchen hood when cooking, and consider a dehumidifier if the air feels consistently damp.
A cheap hygrometer helps. Indoor humidity that stays too high through colder months often shows up first on windows.
Let air move around the glass
Keep blinds slightly open during the day. Move furniture a little away from problem windows. Heavy curtains pressed tight against cold glass can trap moisture for hours.
Wipe condensation early
It feels annoying, yes. Still worth it. If you see water pooling on the sill or in the track, wipe it before it sits there all day.
Clean tracks regularly
Dirty tracks hold dust and moisture. A quick wipe every couple of weeks is easier than a full mold cleanup later.
Check for leaks
If one window is always worse than the others, don't assume it's only indoor humidity. Look for failed seals, water intrusion, or drainage problems outside.
A few mistakes to avoid
People mean well with window mold, then make the job harder. The common mistakes are pretty predictable.
One is over-steaming. More heat is not always better. Too much steam leaves extra moisture behind and can stress finishes, seals, or painted surfaces.
Another is relying on steam without wiping. The mold residue has to be physically removed. Steam loosens it. It does not make it vanish.
A third is ignoring the surrounding area. If the frame looks clean but the drywall above it feels damp or stained, the problem may be beyond the window itself.
And then there's bleach. A lot of people reach for it first. On non-porous surfaces it can help disinfect, but it is not always the best choice indoors, and it does not fix the moisture issue. For many window jobs, careful steam cleaning plus drying works just fine.
When to skip DIY and call a professional
Sometimes the smartest move is admitting the problem is larger than a Saturday cleaning project.
Get help if:
the mold covers a large area
it keeps returning after repeated cleaning
the wall around the window is soft, bubbled, or stained
the window frame smells musty even when it looks clean
you suspect a leak inside the wall
anyone in the home has significant respiratory sensitivities
Window mold can be a small maintenance issue. It can also be the first visible sign of something more expensive. I don't think people need to panic, but I do think they should take repeat mold seriously.
A simple routine that keeps windows cleaner
If your window mold problem is mild and seasonal, a light routine usually works better than occasional deep cleaning.
Once every couple of weeks, wipe the sill and track with a damp microfiber cloth, then dry it. During colder months, check condensation in the morning. If one window is always wet, deal with that specific spot early.
Then, every month or so, use the steamer for a quick pass on the glass and track if buildup is starting again. Done consistently, this turns a grimy chore into a ten-minute reset.
That is the part I like most about using steam. It makes maintenance less miserable.
The bottom line
A steamer can be an easy and effective way to clean mold from windows, especially on glass, vinyl, and metal tracks. It cuts through grime, reaches corners, and helps you avoid soaking the area with heavy cleaners.
But it has limits. It is not a fix for hidden leaks, rotten wood, failed caulk, or damp drywall. And if you don't dry the area well afterward, you can accidentally feed the same problem you're trying to remove.
So the practical approach is this: steam lightly, wipe thoroughly, dry completely, and pay attention to why the mold formed. That combination works better than chasing black spots over and over.
If the mold is small, surface-level, and caught early, this is a very manageable job. If it keeps coming back, the window is telling you something. It is worth listening.