
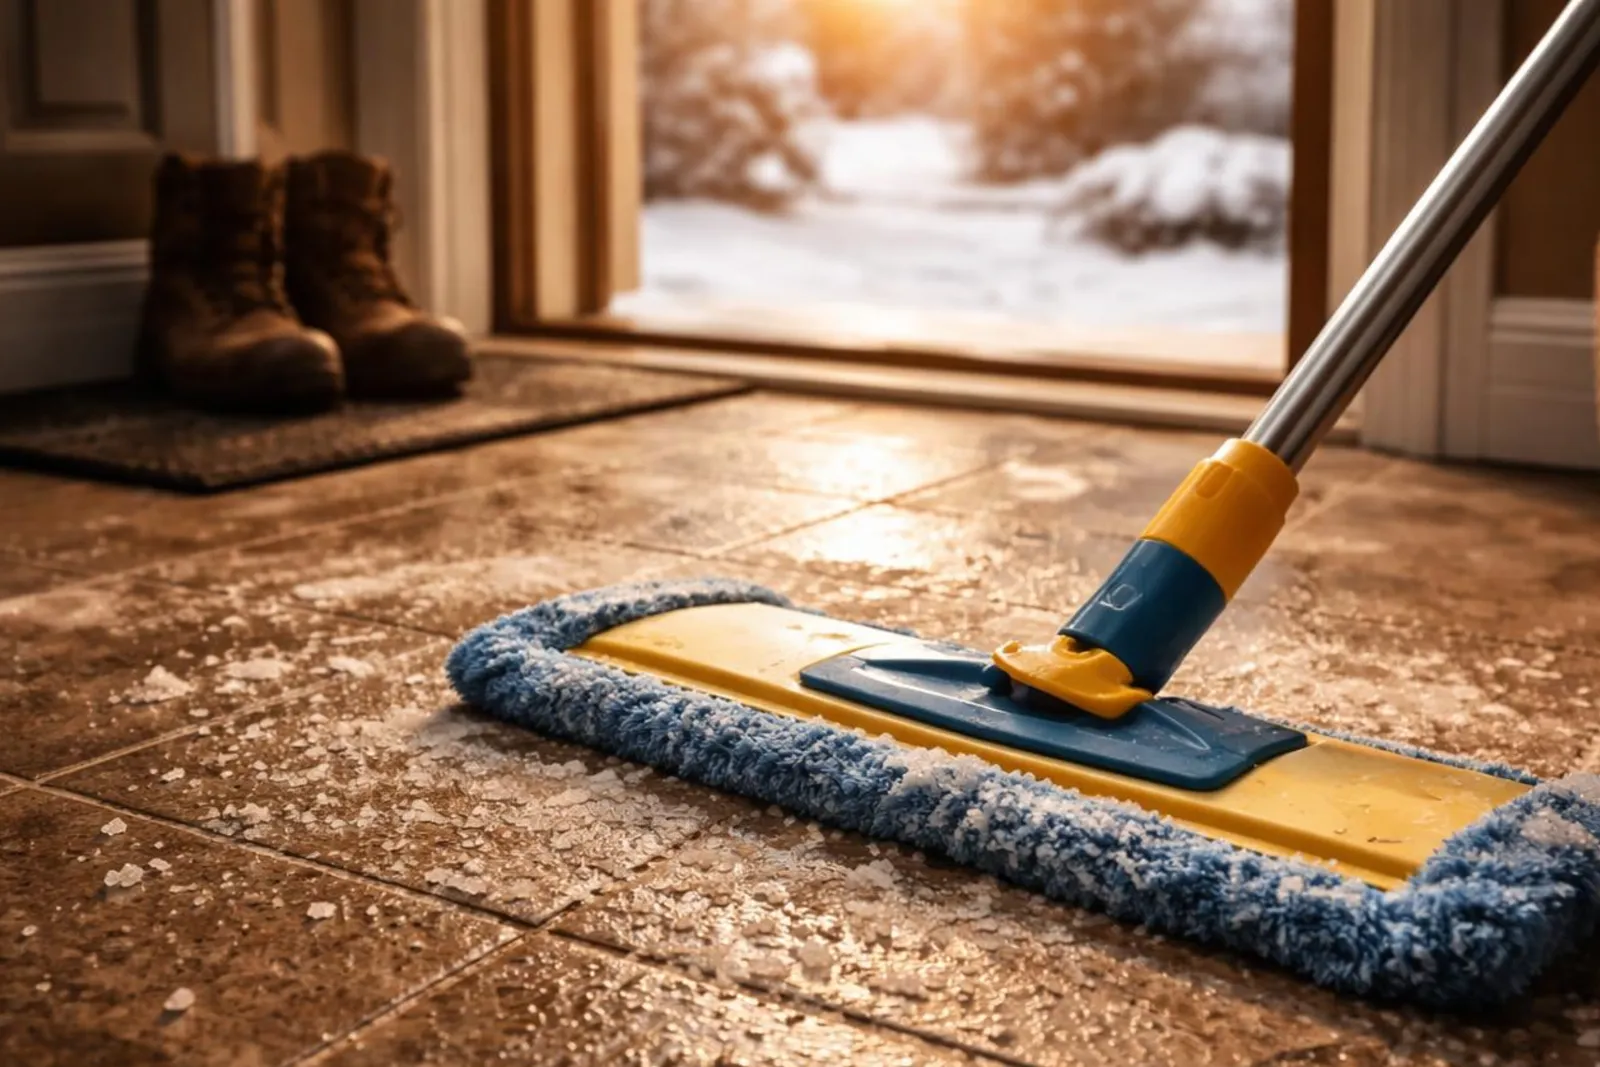
How to Remove Road Salt and Mud from Entry Floors Before They Cause Lasting Damage
Learn how to remove road salt from floors and clean entry mud properly to prevent damage. Read simple winter floor care tips from Clean By Gina.
August 27, 2026
Winter entry floors take a beating. A little slush by the door does not look dramatic at first. Then a few hours pass, the water dries, and what is left behind is a mix of chloride salts, fine grit, mud, and whatever the street added on the way in. In places like Calgary, that buildup is normal. It is also rough on floors.
The annoying part is that road salt damage is sneaky. You notice the obvious mud, but not always the white haze on a finished floor, the sand grinding into a surface, or the salts settling into grout lines and seams. By the time the entry starts looking dull or stained, the residue has usually been there for a while.
The good news is that cleanup does not need to be complicated. The best approach is simple: remove dry debris first, use the right cleaner for the material, rinse well, and dry fast. That order matters more than people think.
Why prompt cleaning matters
Road salts are usually sodium chloride, calcium chloride, or a similar chloride-based deicer. They help keep roads safer, but indoors they are hard on surfaces. Salt residue can leave a chalky film, dull some finishes, and speed up corrosion on nearby metal thresholds or hardware. If you have hardwood near the door, that white haze is not just cosmetic. Repeated exposure to salty meltwater can wear on the finish over time.
Then there is the grit. Sand and fine abrasives are often spread with deicers for traction. Once they get trapped in shoe treads or entry mats, they act like sandpaper. On hard floors, they can scratch the finish. On tile, they settle into grout joints. On mats and rugs, they hide until the next person steps on them and tracks them farther inside.
Meltwater makes the whole mess worse. Water carries dissolved salts and tiny sediment particles into grout, natural stone pores, laminate seams, and along baseboards. That is where staining and longer-term moisture issues can start. It is one reason a floor can still look dirty after you already wiped it once.
Quick cleanup is less about perfection and more about limiting contact time. The faster you lift salt and grit, the less chance they have to grind, stain, or recrystallize in place.
Start by assessing the entry zone
Before you grab a mop, take a minute to look at what you are cleaning. Different surfaces need slightly different handling, and mixed-material entryways are common.
Check what is actually underfoot. Many entry areas combine more than one surface, such as tile at the threshold, hardwood just beyond it, and a fabric mat covering part of both. That matters because a method that works on tile can be too wet or too aggressive for wood or laminate.
Pay attention to the spots that catch the most residue. Usually that means:
the strip right inside the door
grout lines
mat edges
thresholds
lower door trim and baseboards
seams where hard flooring changes to another material
Now look at the type of mess. Fresh slush needs to be blotted. Dry crusted salt needs to be lifted without grinding it around. White powdery haze often points to salt left behind after the water evaporated. Darkened grout can mean dirty meltwater has soaked in more deeply than a quick wipe can fix.
That little inspection saves time because it tells you whether this is a ten-minute cleanup or the start of a deeper reset.
Same-day cleanup for fresh slush and mud
Fresh mess is easier than old mess. If people are still coming in and out, the first job is containment.
Try to stop traffic from spreading the slush into the rest of the home or building. If possible, keep shoes near the door and move mats into position before you start. An outside scraper mat and an inside absorbent mat work much better together than either one alone.
Next, remove the bulk material before adding water. This is the step people skip when they are in a hurry, and it usually makes things worse. If there are clumps of salty snow, sand, or dried mud, pick those up first. A broom and dustpan work fine. A vacuum on a hard-floor setting is even better if the residue is dry enough. Outside, you can use a stiff rubber or plastic scraper on shoe soles and rugged mats to knock off crusted buildup before it comes in again.
After that, blot the wet areas. Towels or microfiber cloths are better than pushing a wet mop across the floor right away. Blotting lifts salty water instead of spreading it into a larger area. Swap in dry towels as soon as the first ones are saturated. If a towel is already loaded with dirty meltwater, it is not cleaning anymore.
Once the loose grit and most of the moisture are gone, you can move on to the actual surface cleaning.
How to clean sealed hard floors without making the problem worse
Sealed hardwood, engineered wood, laminate, and vinyl all benefit from the same basic sequence: dry clean first, damp clean second, dry immediately after.
Step 1: Remove loose grit
Vacuum or sweep the area carefully. If you vacuum, use a hard-floor attachment so you are not dragging a rotating brush over abrasive particles. If you sweep, use a soft broom and avoid pressing grit into seams.
This step is not busywork. It is what prevents scratches during mopping.
Step 2: Use a pH-neutral cleaner sparingly
Fill a bucket or spray bottle with warm water and a pH-neutral cleaner that suits the floor type. Low-residue products are best because heavy soap buildup can leave its own haze, which looks frustratingly similar to salt film.
Keep the mop damp, not wet. That is especially important for wood, laminate, and any floor with seams or vulnerable edges. Too much water can seep where it should not.
Work in small sections. A microfiber mop is ideal because it lifts residue well without flooding the floor. If you hit a stubborn patch of dried salt, let the damp mop pad sit on it for a few seconds, then wipe gently. Scrubbing hard is rarely necessary and sometimes harmful.
Step 3: Rinse often
This is where many entry floors go wrong. If the mop water is dirty, you are mostly redistributing salt. Change the cleaning water as soon as it looks cloudy, and rinse mop heads or pads frequently. If you are using a two-bucket method, even better. One bucket for cleaning solution, one for rinsing.
On floors that keep drying with a cloudy film, a plain-water follow-up pass often makes a big difference.
Step 4: Dry the floor right away
Do not leave water to air-dry on the surface. Use clean microfiber towels or a dry mop to remove remaining moisture. Fast drying helps stop water from wicking dissolved salts back into seams and edges.
When the floor is dry, inspect it from an angle. Salt haze often shows up more clearly in side light than head-on.
Cleaning tile and grout, especially when salt gets into the joints
Tile usually handles moisture better than wood, but grout is a different story. Grout can trap dirty meltwater, and once salt and fine sediment settle there, a surface wipe may not be enough.
Start the same way: vacuum or sweep first. Focus on grout lines and corners where sand collects.
Then apply warm water with a mild neutral cleaner or a diluted pH-neutral grout cleaner. Let it sit briefly so the residue softens. A short dwell time helps, but you do not need to leave it there forever. A minute or two is usually plenty for routine buildup.
Use a stiff nylon brush to scrub the grout. Nylon is strong enough to lift residue but not so harsh that it scratches the tile or tears up the grout surface. Metal brushes are a bad idea here.
Rinse thoroughly with clean water. That part matters just as much as the scrubbing. If the loosened salt stays behind in the rinse water and then dries again, you are back where you started. Blot or extract the area dry after rinsing so the grout does not just pull the moisture back in.
If white crystalline residue remains after the floor is fully dry, you may be dealing with efflorescence or a similar mineral deposit. In that case, repeat the clean-rinse-dry cycle before assuming the stain is permanent. If it still remains, a grout-specific cleaner or a mineral-deposit poultice may help.
Natural stone needs more caution. Avoid acidic cleaners on stone and on some grout types. Acid can etch certain materials and create a whole new problem. For stone entries, it is worth following the product guidance made for that stone rather than improvising with something stronger from under the sink.
Mats and rugs can hold more salt than the floor itself
Entry mats do a lot of the dirty work, but only if they get cleaned too. A mat full of trapped salt and grit stops protecting the floor and starts feeding debris back onto it.
Take mats outside and shake them out well. For heavy winter buildup, an old-fashioned beating does help. It looks dramatic, but it works. Vacuum both sides afterward, especially for textile mats. Dirt often settles into the backing and edges, not just the visible surface.
If the label allows machine washing, use warm water and let the mat go through a full rinse. That extra rinse matters because salt dissolves easily but also lingers easily. For rugs or mats that cannot go in the washer, hose them down outdoors and scrub with a mild detergent until the rinse water runs clear.
Let mats dry completely before putting them back. A damp mat can trap moisture against the floor and encourage salt to recrystallize in the fibers or underneath the backing.
Baseboards, thresholds, and lower trim deserve attention too
People focus on the floor, which makes sense, but salt splash and slush creep onto vertical surfaces more than most of us notice.
Wipe baseboards, lower trim, and door jambs first with a dry microfiber cloth to remove loose crystals and grit. Then go back with a lightly damp cloth and a mild cleaner. Finish by drying the area right away.
Thresholds are worth a close look. If they are metal, watch for corrosion or discoloration from repeated salt exposure. If the paint or finish on nearby trim is failing, cleaning alone will not restore it, but getting the salt off is the first step before any touch-up or refinishing.
Two habits that make cleaning more effective
The first is using a vacuum with a fine filter, ideally HEPA, when you are dealing with dry salt dust and fine grit. Tiny particles are easy to miss and easy to send back into the air.
The second is changing your water more often than feels necessary. It sounds boring because it is boring. It is also one of the biggest differences between a floor that dries clean and a floor that dries streaky.
Salt cleanup is not hard because the chemistry is complicated. It is hard because the residue keeps trying to stay in the system. On the mop. In the bucket. In the mat. In the grout. The job is to remove it, not just move it around.
When stronger products or professional help make sense
Sometimes routine cleaning is enough. Sometimes it clearly is not.
If you have white haze that keeps returning after repeated clean-rinse-dry cycles, grout that stays stained, or metal thresholds showing corrosion, a stronger material-specific product may be needed. The same goes for hardwood finishes that look cloudy even after careful cleaning. At a certain point, the issue may be in the finish itself rather than on top of it.
Large commercial entryways and busy office cleaning situations are their own category. High foot traffic means more repeated contamination, and the volume can outrun what casual daily wiping can handle. Deep cleaning or restorative work may be the practical option there, especially for grout cleaning, grout sealing, stone sealing, or wood floor refinishing.
A good rule is this: if you have cleaned it properly more than once and the residue still returns or the surface still looks damaged, stop escalating with random household products. Match the cleaner to the material, or bring in help before the fix becomes more expensive.
Prevention that actually works through salt season
Prevention is less glamorous than cleanup, but it saves floors.
A layered mat setup does most of the heavy lifting. Put a scraper mat outside to knock off crusted debris and an absorbent non-slip mat inside to catch moisture. Clean both regularly. A dirty mat system is basically decorative.
A shoe-removal habit helps too. It is simple, and it works. If people do not want bare floors, keep indoor slippers by the door. That one small routine cuts down on how far salt and grit travel.
During heavy winter weeks, short daily cleanups beat occasional marathon sessions. A quick sweep or vacuum of the entry, plus a fast damp mop when needed, keeps salt from building up into something much harder to remove.
When spring melt starts and municipal street cleaning picks up the leftover outdoor material, it is a good time for a deeper indoor reset. By then, residue has had months to settle into mats, grout, corners, and trim. A seasonal deep clean can get those areas back to baseline.
Quick troubleshooting for common winter entry problems
If the floor still looks off after cleaning, the cause is usually one of a few familiar problems.
White crystalline haze usually means salt or mineral residue is still present. Rinse again with clean water, dry thoroughly, and repeat if needed.
Scratches near the door often come from sand abrasion, not the mop. Focus on better dry debris removal before wet cleaning.
Grout that stays dark may still be holding dirty moisture. Clean again, rinse well, and make sure it dries fully.
Damp seams on laminate or wood need immediate drying and less water in future cleanings.
Persistent staining on porous stone or grout may call for a specialized cleaner rather than more scrubbing.
Winter entry floors do not need perfect care. They need consistent care. Remove the grit before it scratches, remove the salt before it dries back onto the surface, and do not leave rinse water sitting around to start the cycle over again. That is the whole game, really. Small cleanups, done in the right order, prevent a lot of bigger problems later.